
What is a vape pen?
A vape pen is a portable, pen-shaped electronic device that vaporizes a liquid solution (often called e-liquid or vape juice) to be inhaled. It typically consists of a battery component, a heating element (atomizer or coil), and a cartridge or tank to hold the e-liquid. When the device is activated, the heating element vaporizes the e-liquid, which is then inhaled by the user. Vape pens are commonly used for vaping nicotine, THC (the psychoactive component of cannabis), CBD (cannabidiol), or flavored e-liquids. They gained popularity as an alternative to traditional tobacco smoking and are often considered less harmful than smoking cigarettes, although the long-term health effects are still being studied.
How to smoke a vape pen for the first time?
Vape pens have become increasingly popular for their convenience and ease of use, offering a discreet way to enjoy your favorite substances. If you’re new to vaping, navigating the process might seem daunting at first, but fear not – this guide will walk you through the steps of using a vape pen for the first time.
Understanding Your Vape Pen:
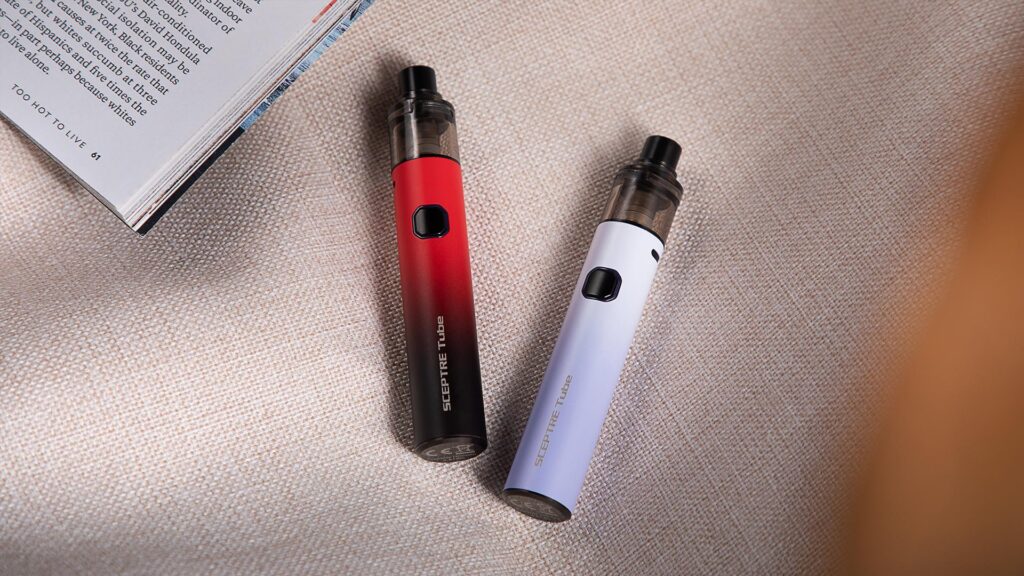
Before you start, it’s essential to familiarize yourself with the components of your vape pen. A typical vape pen consists of a battery, a heating element (atomizer or coil), a mouthpiece, and a cartridge or tank to hold the vaping material.
Step 1: Charging Your Vape Pen: First things first, ensure your vape pen is fully charged before use. Most vape pens come with a USB charger that can be plugged into a computer or wall adapter. Connect the charger to your vape pen’s battery and wait until it reaches full charge, indicated by a light on the pen or charger turning green.
Step 2: Assembling Your Vape Pen: Once charged, assemble your vape pen by screwing the cartridge or tank onto the battery. Make sure it’s securely attached but don’t over-tighten, as this could damage the threads.
Step 3: Preparing the Cartridge: If you’re using a pre-filled cartridge, there’s usually no need for additional preparation. However, if you’re filling your tank with e-liquid or another substance, follow the manufacturer’s instructions carefully to avoid spills and leaks.
Step 4: Turning on Your Vape Pen: Most vape pens are activated by pressing a button located on the battery. Click the button five times rapidly to turn the device on or off. Once turned on, some pens require you to press and hold the button while inhaling, while others have an auto-draw feature that activates when you inhale from the mouthpiece.
Step 5: Adjusting Settings (if applicable): Some vape pens come with adjustable settings such as temperature or wattage. If yours has this feature, consult the user manual for instructions on how to adjust the settings to your preference.
Step 6: Inhaling from Your Vape Pen: With your vape pen assembled, charged, and turned on, it’s time to take your first puff. Place the mouthpiece between your lips and inhale slowly and steadily. Start with short, gentle draws to get a feel for the vapor production and flavor.
Step 7: Exhaling and Enjoying: After inhaling, hold the vapor in your lungs for a few seconds before exhaling slowly. Take note of the flavor, throat hit, and overall experience. If you’re not satisfied, adjust your technique or settings accordingly.
Step 8: Maintaining Your Vape Pen: To ensure optimal performance and longevity, it’s essential to maintain your vape pen properly. Clean the mouthpiece and cartridge/tank regularly to prevent buildup of residue and debris. Replace coils or cartridges as needed, and store your vape pen in a cool, dry place when not in use.
How many watts does a vape pen use?
The wattage of a vape pen can vary depending on the specific model and settings. Generally, vape pens are designed to operate at lower wattages compared to more advanced vaping devices like box mods.
A typical vape pen might have a wattage range of around 10 to 25 watts. However, some vape pens have adjustable wattage settings, allowing users to customize their vaping experience within a certain range.
It’s important to check the specifications provided by the manufacturer for the specific vape pen you’re using to determine its wattage range and any other relevant details.
How to change the cotton in a vape pen?
Vape pens have become increasingly popular among users looking for a portable and discreet way to enjoy their favorite e-liquids. However, like any other device, vape pens require maintenance to ensure optimal performance and flavor. One essential aspect of maintenance is changing the cotton within the vape pen’s coil.
A Step-by-Step Guide on Changing Cotton in Your Vape Pen
This article provides a detailed guide on how to change the cotton in your vape pen effectively.
Step 1: Gather Necessary Supplies Before starting the process, gather all the supplies you’ll need:
- New cotton pads or coils (depending on your vape pen’s design)
- Tweezers
- Scissors
- Paper towels or cloth for cleanup
- E-liquid (optional, for priming the new cotton)
Step 2: Disassemble Your Vape Pen Carefully disassemble your vape pen according to the manufacturer’s instructions. Typically, you’ll need to unscrew the tank or atomizer from the battery. Be cautious not to lose any small parts during this process.
Step 3: Remove the Old Cotton Once you have disassembled the vape pen, locate the coil. Using tweezers, gently remove the old cotton from the coil. Be mindful not to damage the coil in the process. Discard the old cotton properly.
Step 4: Clean the Coil (Optional) If there is any residue or gunk buildup on the coil, you can clean it by gently dry-burning it. Reassemble the coil without any cotton, and pulse the fire button on your vape device for a few seconds until the coil glows red. This process helps burn off any residue. Let the coil cool down before proceeding.
Step 5: Cut and Install the New Cotton Cut a piece of fresh cotton to the appropriate size for your coil. The cotton should be large enough to fill the coil but not too tight. Use scissors to trim any excess cotton.
Step 6: Insert the New Cotton Carefully insert the new cotton into the coil, ensuring it fits snugly without being too compacted. Use tweezers to adjust the cotton if necessary, making sure it covers the entire coil evenly.
Step 7: Prime the New Cotton (Optional) To prevent dry hits and extend the life of your coil, it’s recommended to prime the new cotton. Apply a few drops of e-liquid directly onto the cotton until it’s saturated but not oversaturated. Allow the cotton to absorb the e-liquid for a few minutes.
Step 8: Reassemble Your Vape Pen Once the new cotton is installed and primed (if applicable), reassemble your vape pen by screwing the tank or atomizer back onto the battery. Ensure all connections are secure but not over tightened.
Step 9: Test and Adjust Before using your vape pen, it’s essential to test it to ensure everything is working correctly. Start with a low wattage setting and gradually increase it to your desired level. Pay attention to any unusual tastes or signs of leakage, which may indicate improper installation.
Conclusion:
Regularly changing the cotton in your vape pen is crucial for maintaining optimal flavor and vapor production. By following the steps outlined in this guide, you can effectively change the cotton in your vape pen and enjoy a consistently satisfying vaping experience. Remember to clean your vape pen regularly and replace other components as needed to keep it in top condition.